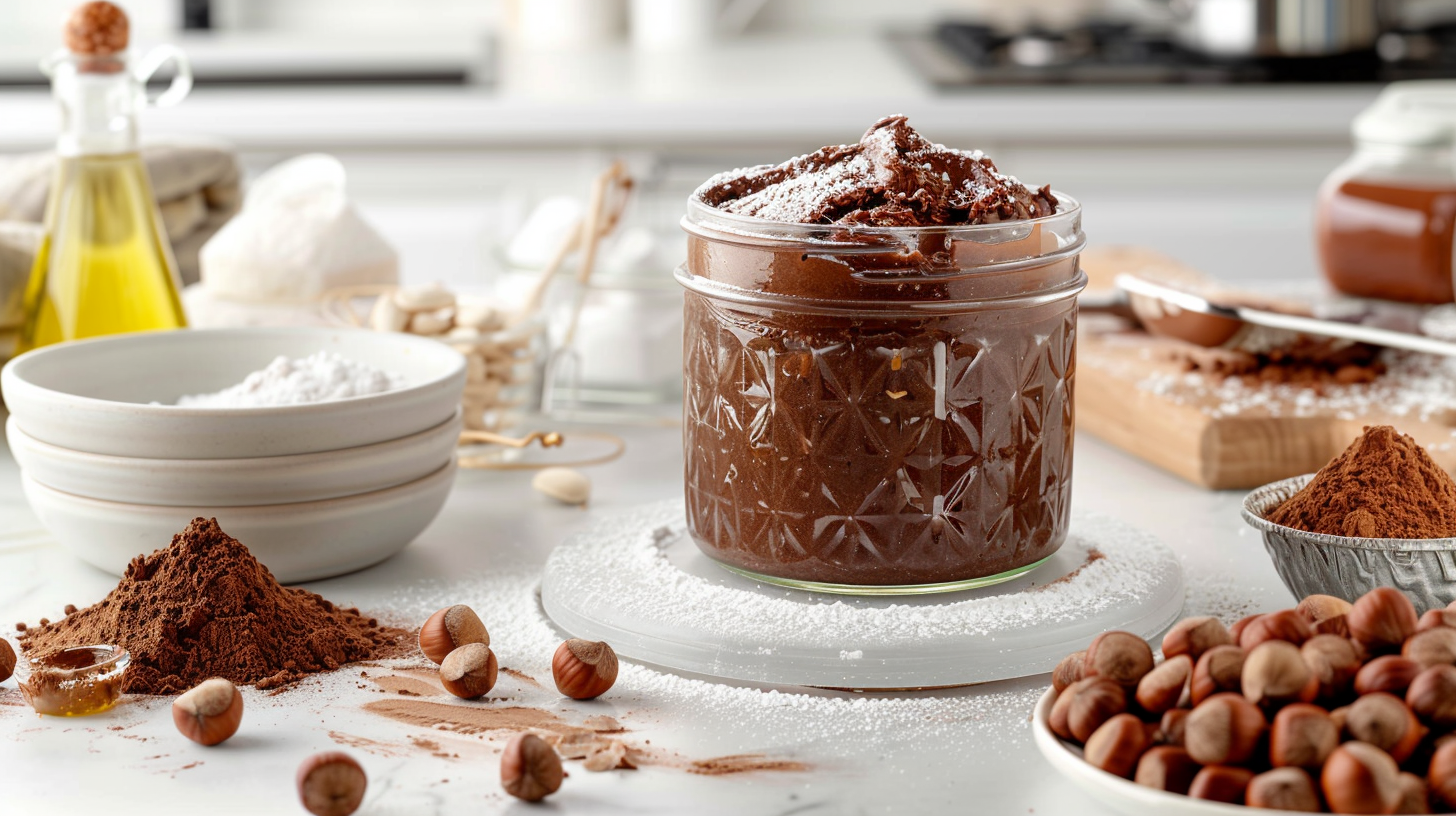
Classic Homemade Hazelnut Spread Recipe
Homemade hazelnut spread is a delightful treat that combines the rich, nutty flavor of roasted hazelnuts with the smooth sweetness of chocolate. This versatile spread can be enjoyed on toast, pancakes, or even straight from the jar. Making your hazelnut spread at home allows you to control the ingredients, ensuring a fresh and delicious product without any preservatives or artificial additives. In this article, we’ll guide you through a classic homemade hazelnut spread recipe that’s easy to follow and guaranteed to impress.
1. Recipe

Classic Homemade Hazelnut Spread
Difficulty: Easy to Moderate2
cups20
minutes15
minutes100
kcalIngredients
2 cups (about 300 g) of raw hazelnuts
1 cup (about 200 g) of powdered sugar
1/4 cup (about 25 g) of unsweetened cocoa powder
2 tablespoons of vegetable oil
1 teaspoon of vanilla extract
1/4 teaspoon of salt
Optional: 1/4 cup (about 60 g) of melted dark or milk chocolate for added richness
- Equipment
Baking sheet
Clean kitchen towel or paper towel
Food processor or high-powered blender
Mixing bowl
Airtight container for storage
Directions
- Preheat your oven to 350°F (175°C).
- Roast the hazelnuts in the preheated oven for about 10-15 minutes, until the skins start to crack and the nuts are golden brown. Stir occasionally.
- Transfer the roasted hazelnuts to a clean kitchen towel or paper towel. Rub them together to remove the skins. It’s okay if some skins remain.
- Place the roasted hazelnuts in a food processor or high-powered blender. Process until they turn into a smooth hazelnut butter, scraping down the sides as needed. This may take 5-10 minutes.
- Add the vegetable oil to the hazelnut butter and blend until combined.
- In a mixing bowl, combine the powdered sugar, unsweetened cocoa powder, vanilla extract, and salt. Add this mixture to the hazelnut butter in the food processor.
- Process until the mixture is smooth and well combined. If using melted chocolate, add it now and blend until incorporated.
- Transfer the hazelnut spread to an airtight container.
- Store at room temperature for up to two weeks or in the refrigerator for up to one month. Stir before use, as natural oils may separate over time.
Notes
2. Serving Suggestions
Homemade hazelnut spread is incredibly versatile and can be enjoyed in many ways:
- On Toast: Spread on warm toast or bagels for a delicious breakfast or snack.
- With Fruits: Use as a dip for apple slices, bananas, or strawberries.
- In Baking: Incorporate into recipes for cookies, cakes, and pastries.
- As a Filling: Spread between layers of a cake or inside crepes and pancakes.
- In Beverages: Stir into hot milk for a homemade hazelnut hot chocolate.
3. Tips and Variations
To customize your homemade hazelnut spread, consider these tips and variations:
- Nut Options: Substitute hazelnuts with almonds, cashews, or peanuts for different flavors.
- Sweeteners: Use honey, maple syrup, or agave nectar instead of powdered sugar for a different sweetness profile.
- Flavors: Experiment with adding a pinch of cinnamon, nutmeg, or a splash of hazelnut liqueur for extra depth of flavor.
- Texture: For a chunkier spread, reserve some chopped hazelnuts and stir them into the finished spread.
4. Conclusion
Making your own hazelnut spread at home is a rewarding and tasty endeavor. With just a few simple ingredients and some basic kitchen equipment, you can create a delicious, customizable spread that rivals any store-bought version. Enjoy the rich, nutty flavor and creamy texture of this classic homemade hazelnut spread on your favorite treats or straight from the jar.
By following this recipe, you’ll be able to savor the freshness and quality of homemade hazelnut spread, tailored exactly to your taste preferences. Happy spreading!
References
- Hazelnut Council: National Hazelnut Council
- Nut Processors Guide: Nut Butters Handbook
- Cooking Resources: AllRecipes
- Culinary Techniques: Food Network


